Automated ballast discharge from a balloon
Automated ballast discharge from a balloon using GPS coordinates with a GSM communication channel
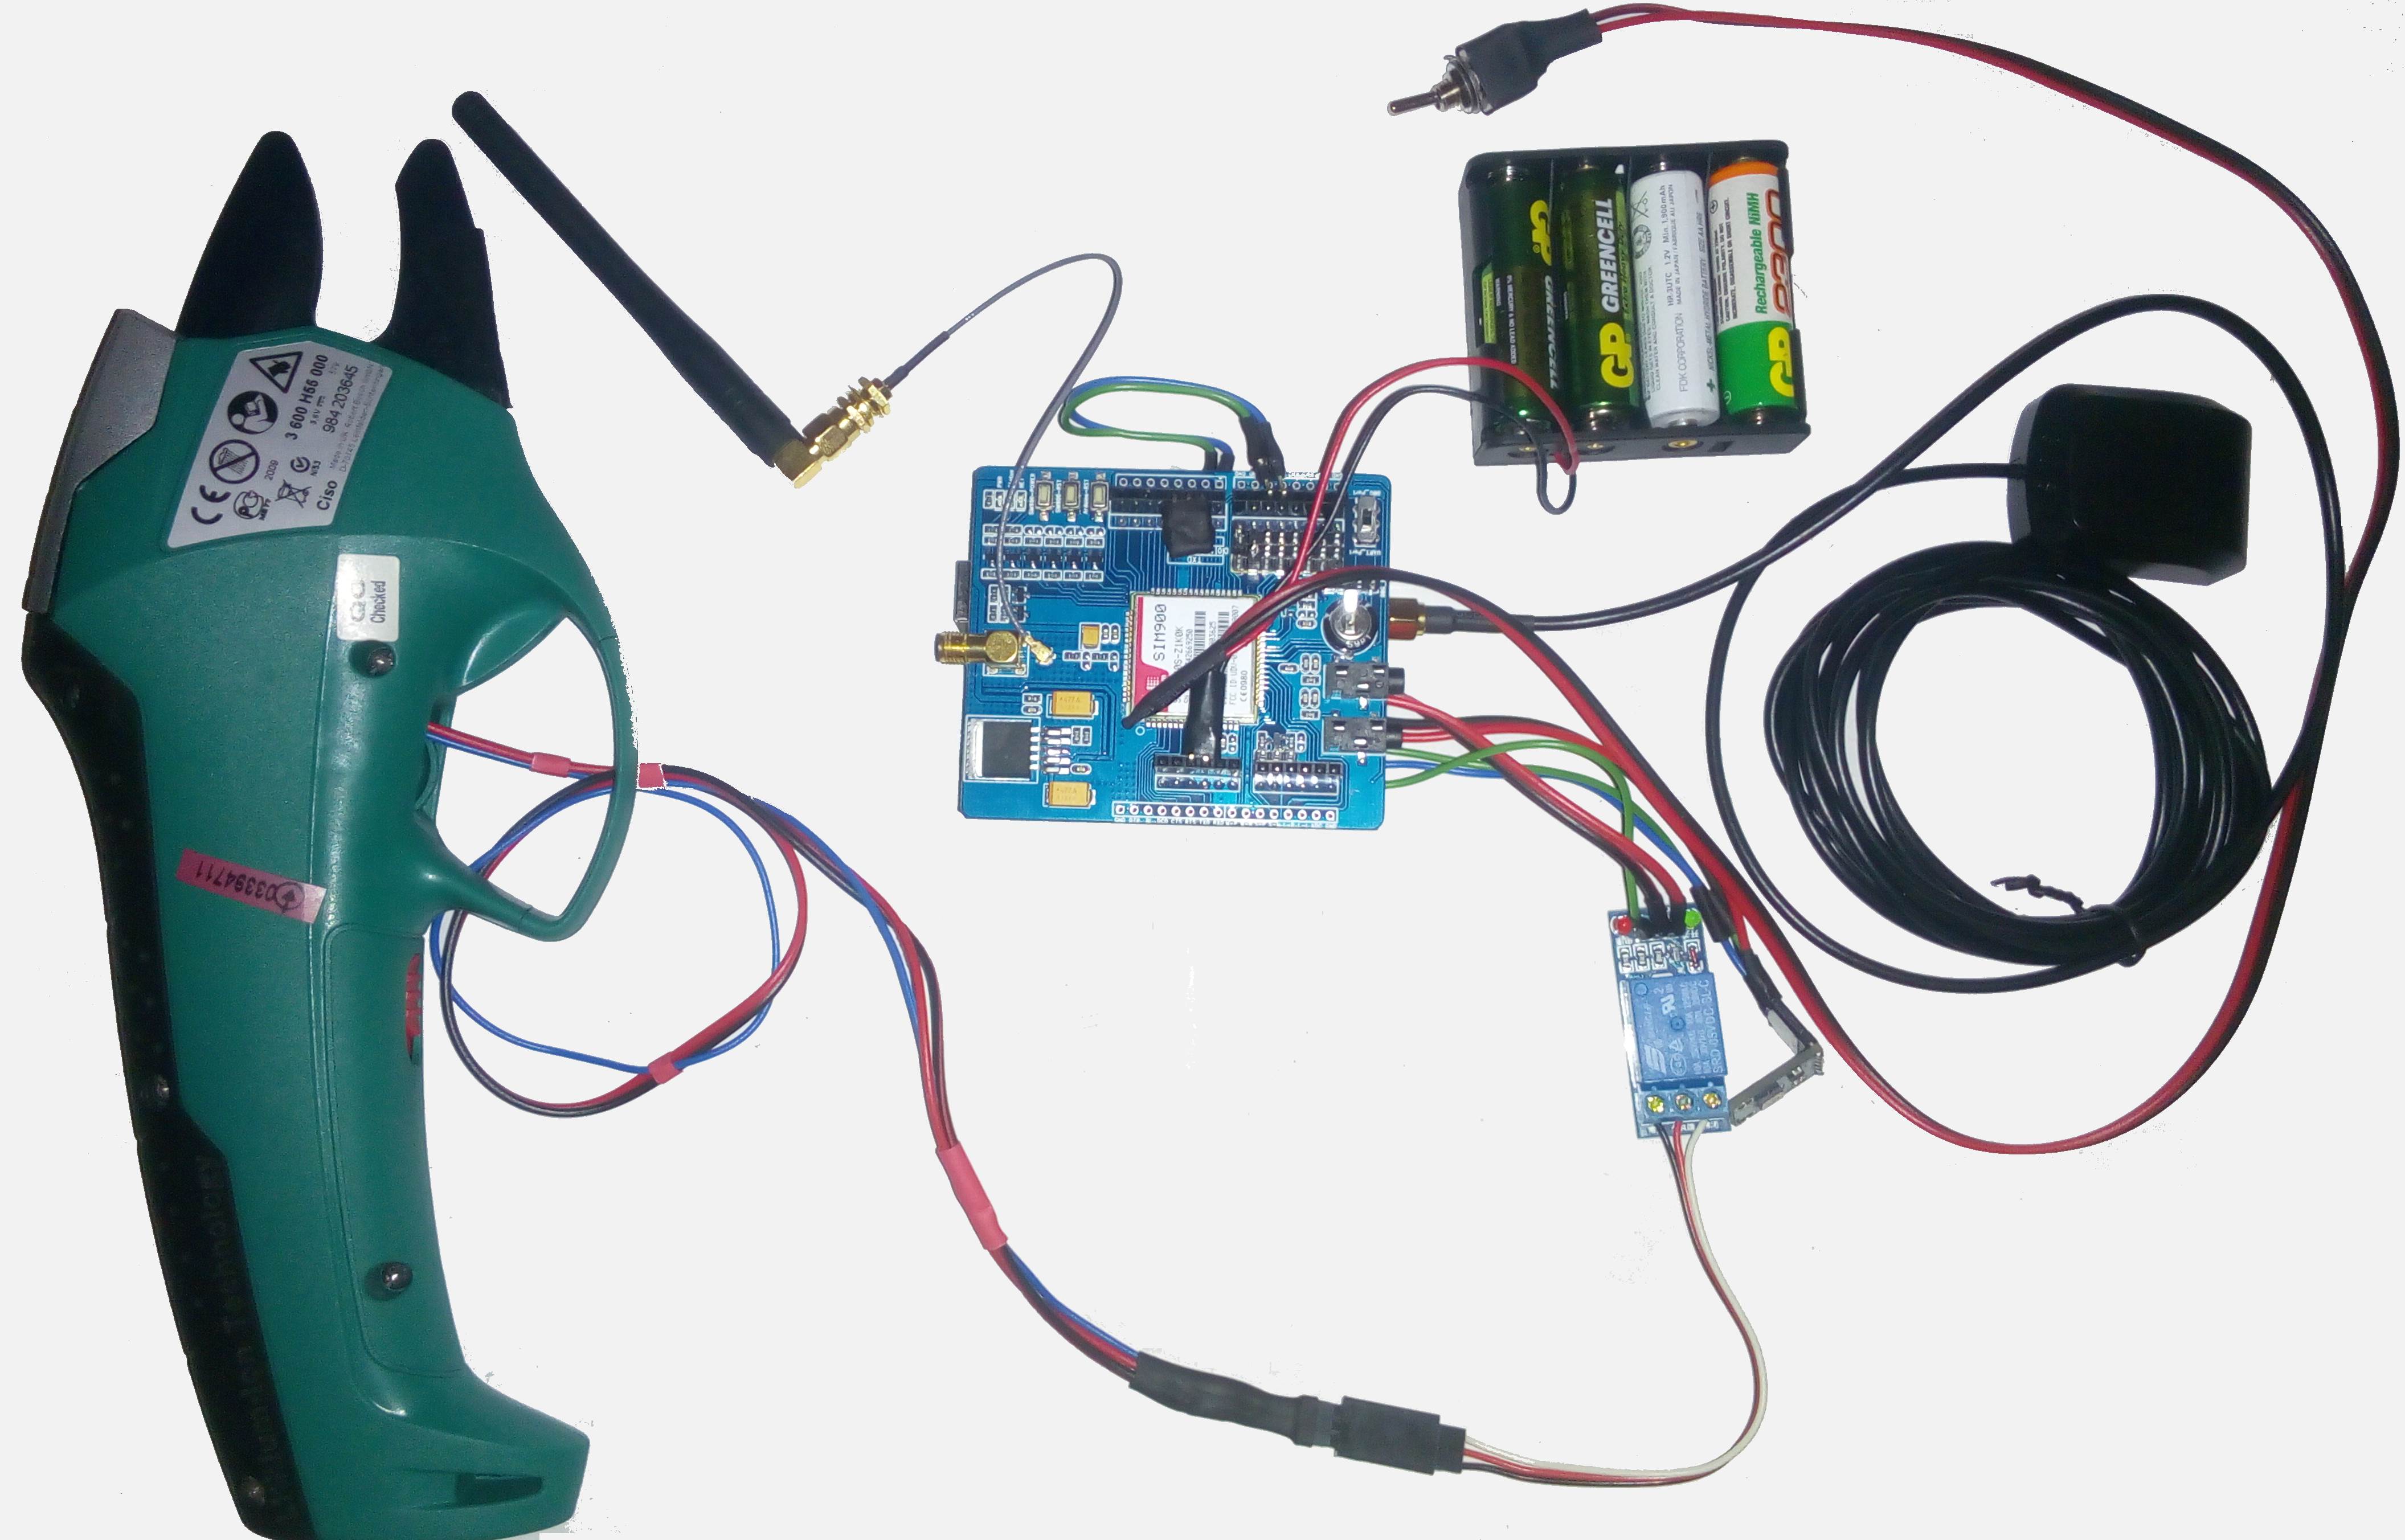
How the system works
The system is installed on a balloon and is designed for emergency ballast release to avoid a collision with the ground in conditions when the balloon driver for some reason does not do this on his own
Before the start of the flight, the criteria by which ballast must be discharged are established in advance:
- Descent below a certain barometric altitude
- Remote command via mobile connection
- Exiting a certain area or entering a certain area (determined by current GPS coordinates) (optional)
The system provides a two-way communication channel via a mobile network, which allows you to check the system status at any time, obtain current coordinates, barometric height, change the trigger criterion and, if necessary, manually issue a reset command
Ballast is released by physically cutting the sling to which it is attached using electric scissors controlled directly from the controller The system is completely independent (powered by built-in batteries) and does not require any action from the crew during the flight. All that is required is correct initialization of the system before flight.
System parameters:
- Main controller – Arduino Uno
- Processor – 16 MGh, ATmega328P
- Controller memory – 2 kB SRAM, 1kB EEPROM
- GSM GPRS module – SIM900
- GPRS slot – Class 8 and 8 GPRS, Class B mobile station
- Working frequency – 850, 900, 1800, 1900 MGh
- GPS antenna frequency – 1575.42 MHz
- GPS antenna Gain – 28 dBi
- Sensors set – L3G4200D (gyroscope), ADXL345 (accelerometer), HMC5883L (magnetometer) and BMP085 (barometric sensor)
- Measured pressure range – 300..1100 hectopascals (+9000.. -500 m above sea level)
- Response time – 7.5 ms
- Power supply
- 4xAA batteries (logic)
- 1500 mAh, 3.6 V LiMn accumulator (Cordless Shears)
- Operational temperature – -40°C до +85°C;
- Weight
- 180 g (main components)
- 650 g (Cordless Shears)
- ~1kg (full assembly include mount and housing)
- Dimensions
- 90x90x60 mm (component box)
- 300x90x90mm (Cordless Shears)
- Operational temperature – 0 to +45°C;
Basic system control functions (via mobile network)
Call to the number of the inserted SIM card - after one or two beeps, the system will reset the call and send a status SMS in response.
- Reply SMS:
H=91.32m(0.34m) Vrt=0.00m/s; N=48.456421; E=35.071960; Hrz=0km/hH=91.32m– altitude above sea level, calculated from atmospheric pressure, meters(0,34m)– height relative to the zero specified during initialization. Even if the system is at the same point as when setting zero, it may show several centimeters in one direction or another (sensor measurements error)Vrt=0.00m/s– vertical speed calculated from the change in altitude over the last 10 seconds N=48.456421; E=35.071960 – GPS coordinatesHrz=0km/h– horizontal speed calculated from changes in GPS coordinates, km/h If there is no GPS signal reception (for example indoors), then instead of the last three numbers there will be “GPS Loading”. For testing, GPS antenna can be placed on a windowsill or outside an open window.
- Reply SMS:
SMS with the text
0- sets the current altitude as zero and turns on the automation (if it worked before).- Reply SMS –
0 OK H=91.32m(0.00m) Vrt=0.00m/s; N=48.456421; E=35.071960; Hrz=0km/h
- Reply SMS –
SMS with the text
1- Triggers the scissors regardless of height.- Reply SMS –
1 OK H=91.32m(0.00m) Vrt=0.00m/s; N=48.456421; E=35.071960; Hrz=0km/h
- Reply SMS –
SMS with the text
2– turns on and off the automatic activation of the shears by height value. If the automation has already worked once, then the repeated decrease will not turn on the shears. With this command you can re-enable automation or forcefully disable it.- Reply SMS –
Control ON/OFF H=91.32m(0.00m) Vrt=0.00m/s; N=48.456421; E=35.071960; Hrz=0km/h
- Reply SMS –
SMS with the text '3' - will request the current automation settings.
- Reply SMS: 'Settings: CutH=200m; AutoOnH=280m; Cuts=3;'
CutH=200m– height of operation of shears when descending, metersAutoOnH=280m– height at which the automation will be turned on during ascent, metersCuts=3– number of cuts with shears
- Reply SMS: 'Settings: CutH=200m; AutoOnH=280m; Cuts=3;'
SMS with the text
Set 200,280,3- sets the parameters of cut height,ascent min height and number of cuts.- Reply SMS
Settings: CutH=200m; AutoOnH=280m; Cuts=3;The parameters are saved in the controller's memory after the power is turned off. The next time you turn it on they will be installed automatically. When you turn it on for the first time, Iе ші recommend to set these parameters once via SMS. The last number to which the SMS was sent is also remembered.
- Reply SMS
Initialization procedure
You arrive at the location and turn on the device with the power switch. At the same time, the “PWR” indicator in the corner of the upper board will light up - it signals that the power of the entire system is turned on. In addition, the “Status” indicator should light up - it signals that the GSM module itself is turned on.
If the “Status” and “Net” indicators light up, then go out, then light up again - there is not enough power for the GSM module to operate
Immediately after switching on, the “Net” indicator also starts flashing. If the blinking is frequent (every 0.5-0.8 seconds), it means the network is being searched and an attempt is being made to connect. If the SIM card is inserted and there is a connection, then a few seconds after turning on the “Status” indicator will start flashing more slowly (every 2-3 seconds). This means that the system has registered with the mobile network and can be used.
During initialization, the barometric sensor records the current altitude and stores it as zero. When the module enters operating mode, it signals this (either with a buzzer or SMS with the text “0 OK H=550(+000)” (here 550 is the altitude relative to sea level, 000 is relative to zero) and the current coordinates and altitude). When you receive an SMS with the text “0” from your number, the altitude/coordinates are memorized again (as the original ones) and the same response SMS occurs.
When you press the test button or receive an SMS with the text “1”, the shears are turned on three times to check their operation, a response SMS with the current status
Wiring diagram
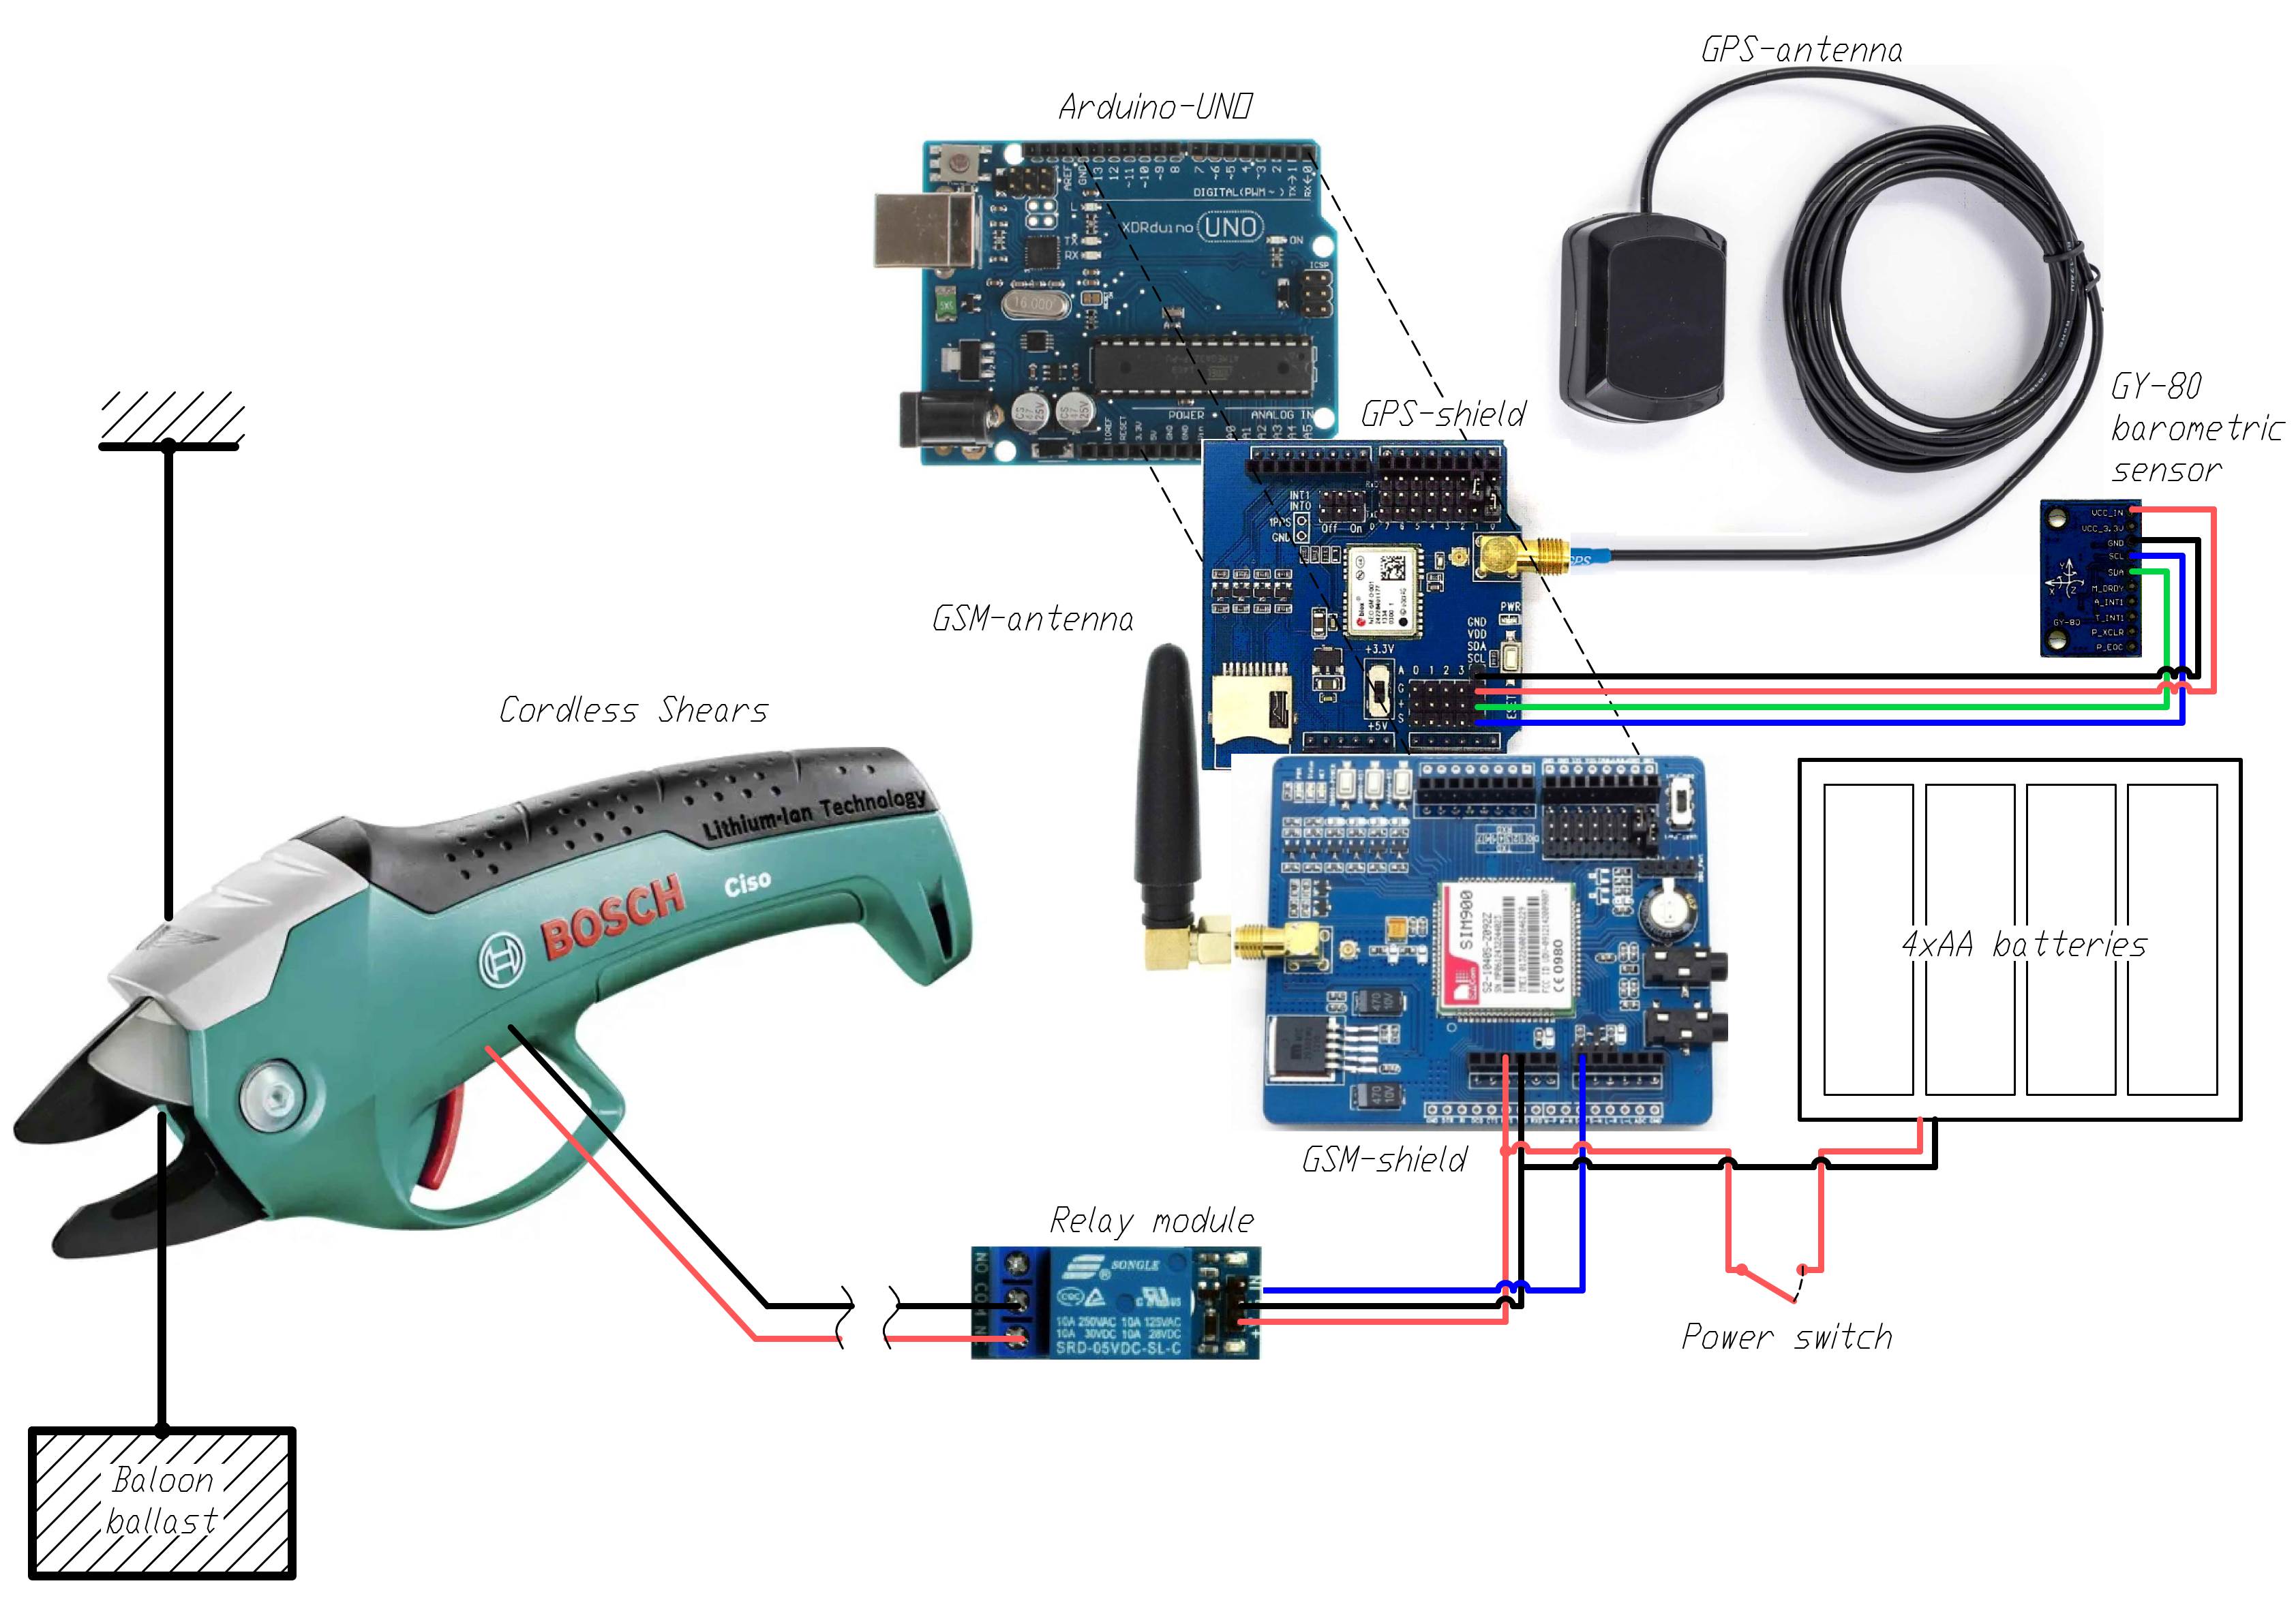
Components
- Controller Arduino UNO
- Sensor module GY80 (accelerometer + barometer)
- Arduino GPS shield
- Active GPS antenna
- SIM900 GSM/GPRS shield
- 5V Relay for shears activatiom
- Battery box for 4xАА batteries
- Cordless Shears (Bosch 825306 Ciso or similar)
Further development of the system
-
Adding as a trigger criterion, entering or exiting a certain area (determined by current GPS coordinates
-
Changing the trigger height based on a set of heights for different coordinates (on meringue topographic maps) to work in conditions of a set of elevations
-
Adding a laser altitude sensor in addition to barometric
-
Adding a local control panel with the ability to display current altitude data, coordinates and optional manual reset control
-
User interface improvements - creating a mobile application with a convenient interface for initialization. displaying the current status and managing the system functions
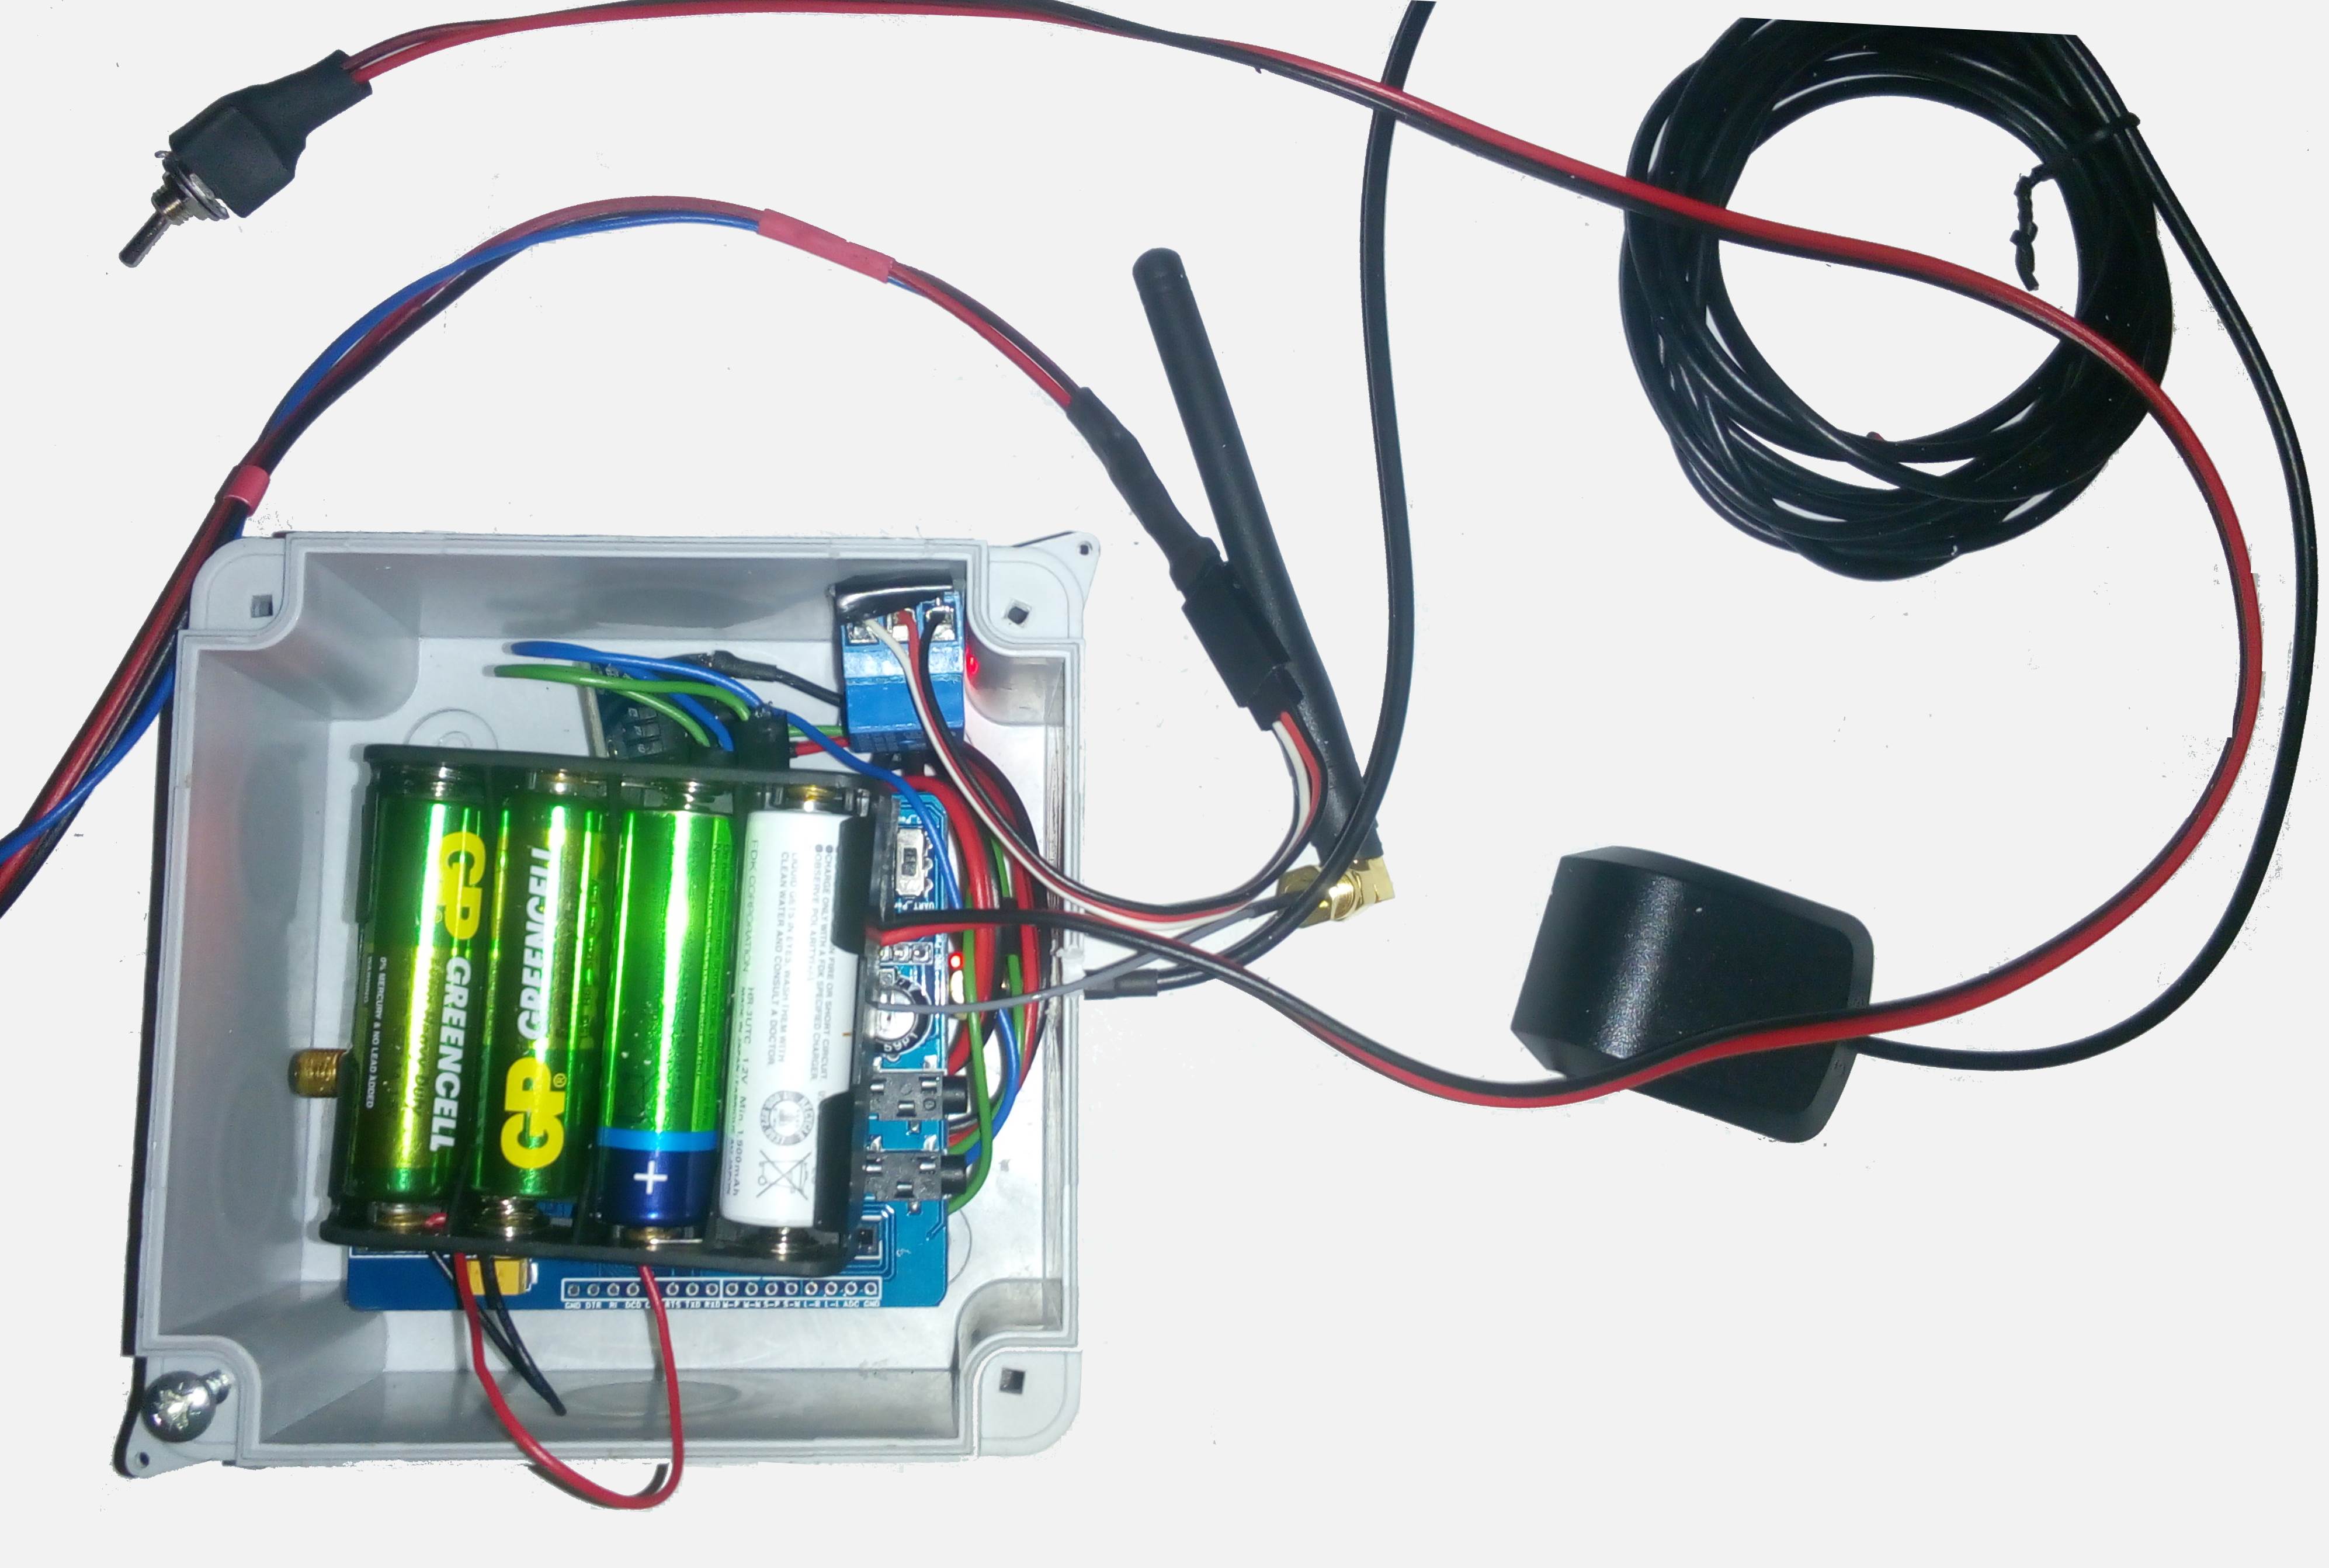
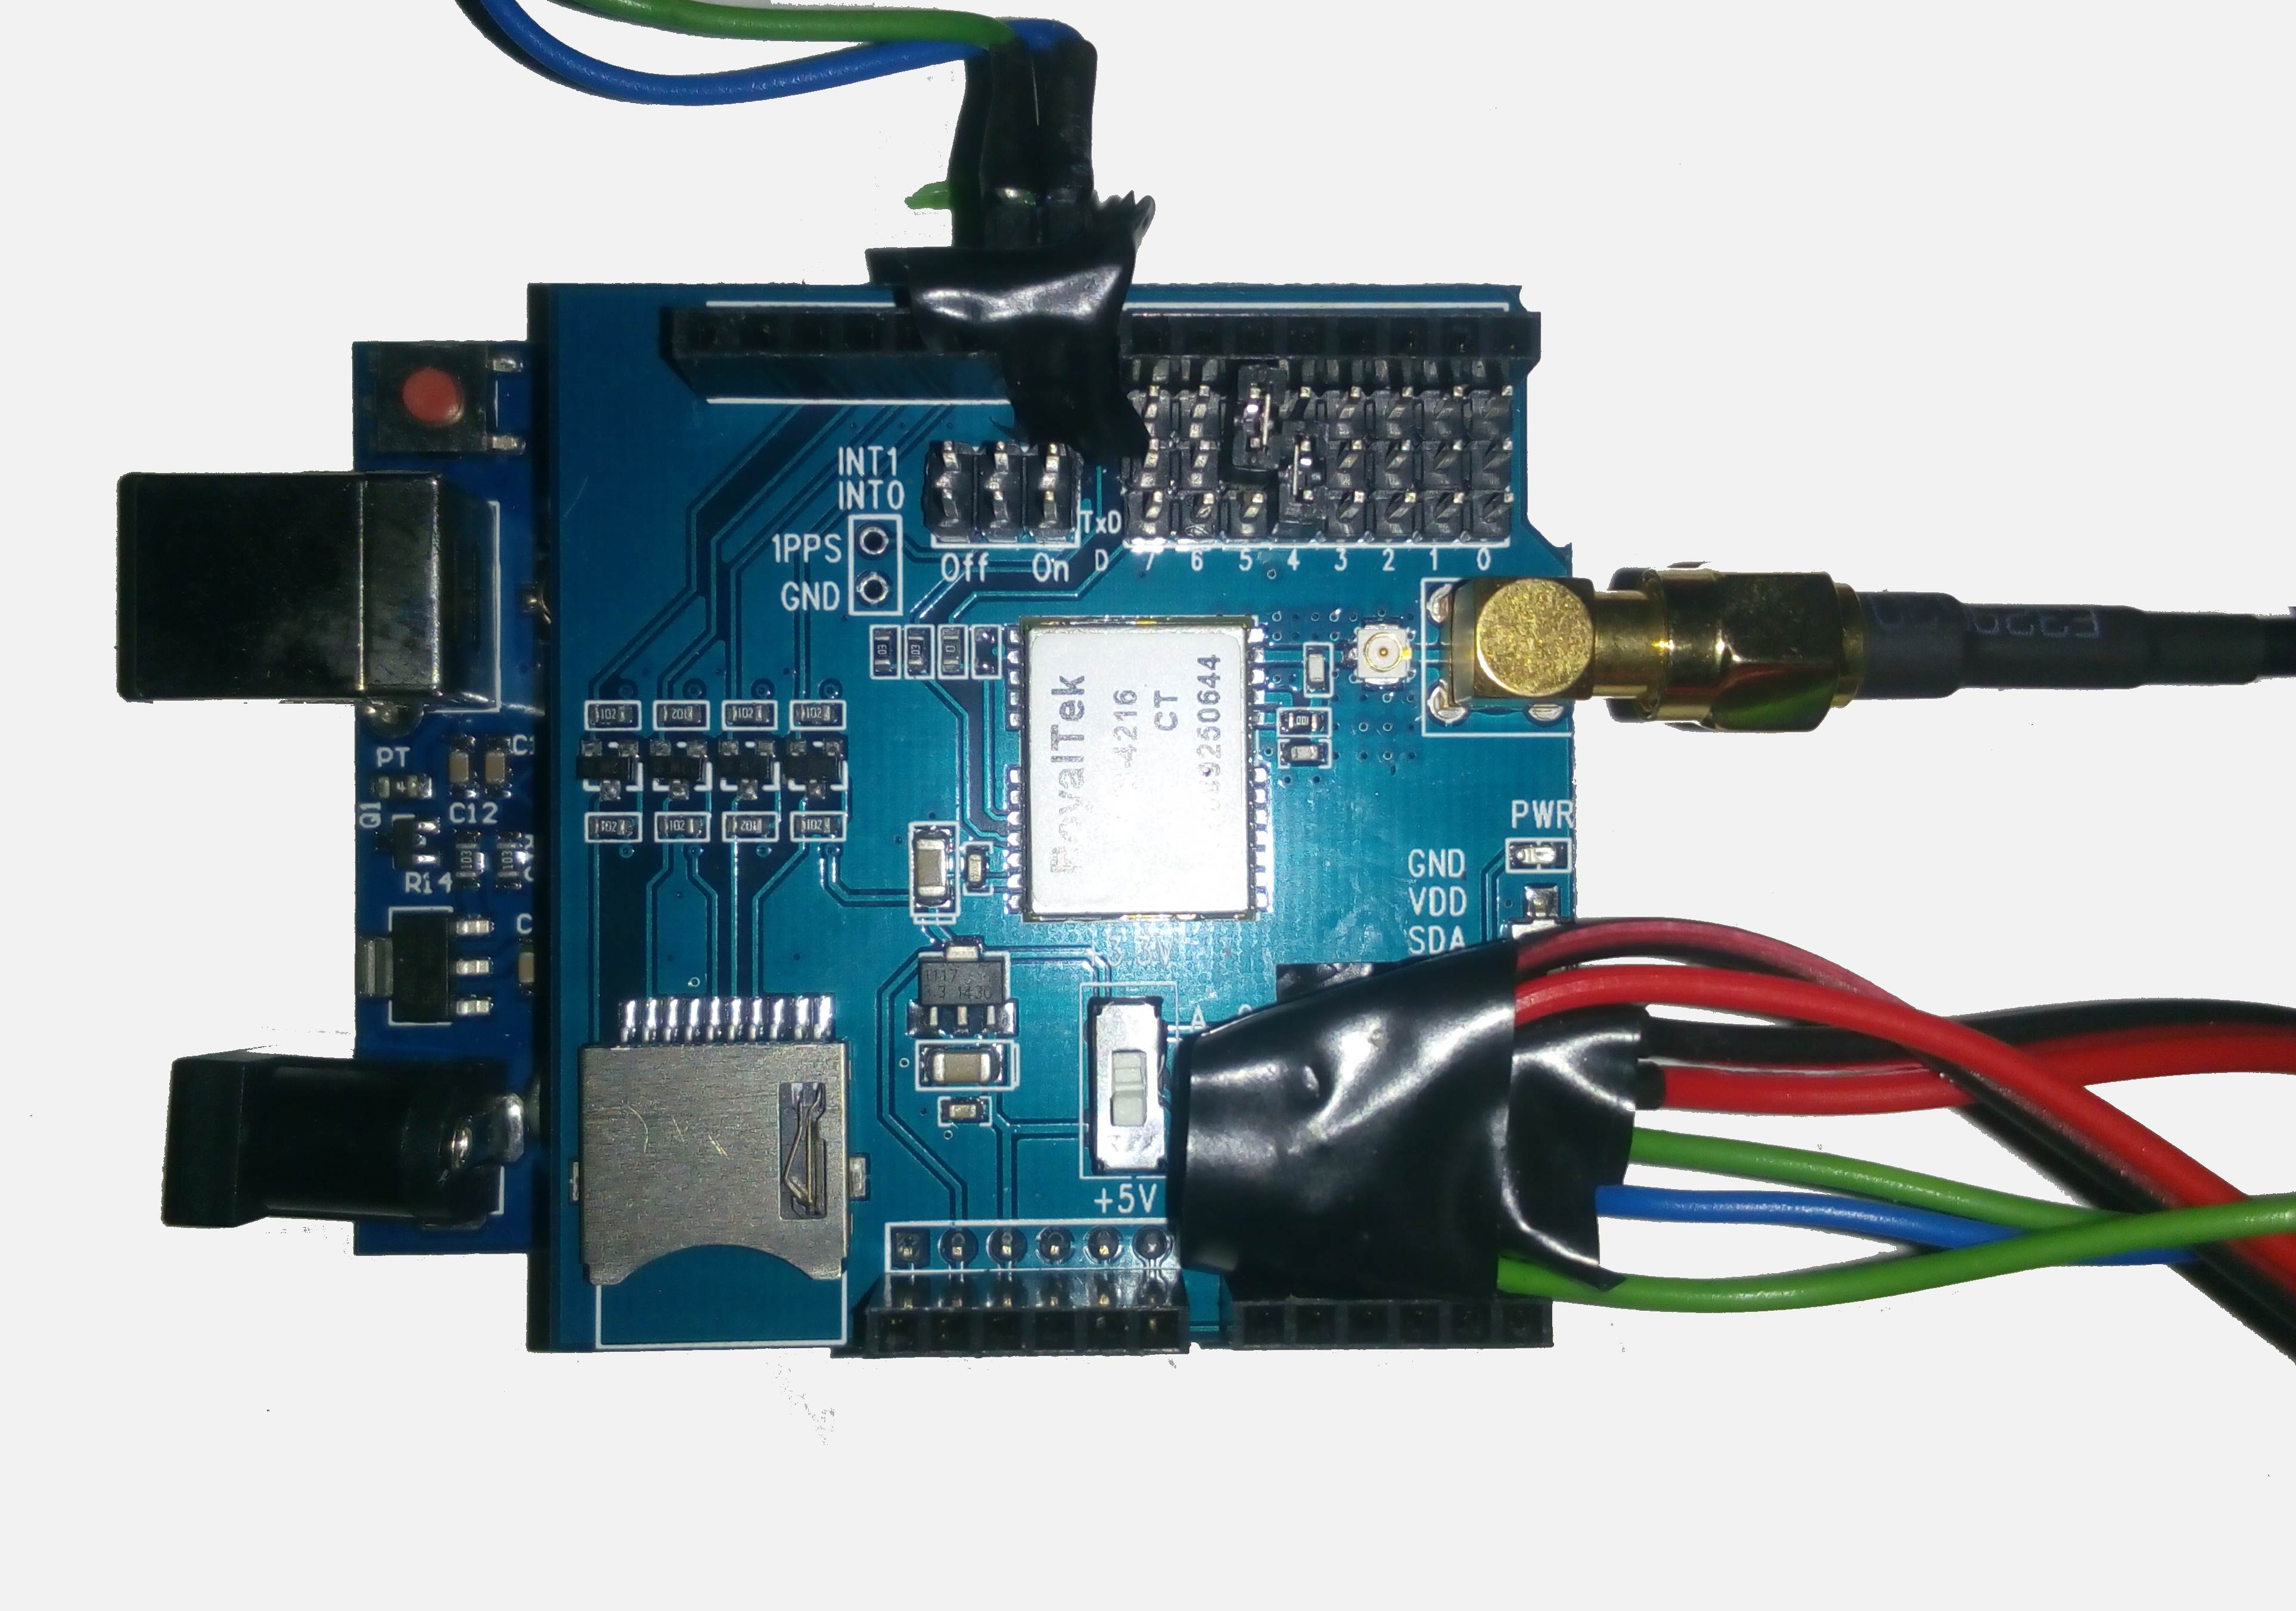
Photos

 Books
Books Technology
 Electronics
 DC motors
 Raspberry Pi Controllers
 Relay
Relay Temperature sensors
 All tags
 Programming
 Weaponry
 Projects