 Books
Books Technology
 Electronics
 Programming
 Weaponry
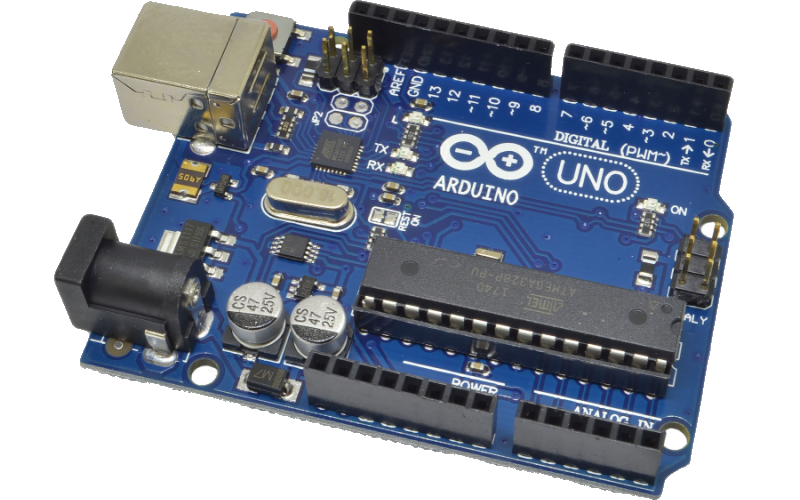
 Arduino
 Projects
Using DC motors in projects controlled by Arduino microcontrollers
Using DC motors in projects controlled by Arduino microcontrollers
#1: Connect a DC motor. Microcircuit L298P

Article-series: Programming Arduino from scratch #7
Consider the option of connecting a conventional DC motor to the controller, which can be used, for example, to move the robot or perform useful work. To do this, we will use a motor controller based on the common L298P microcircuit.
#2: Soft starting a DC motor using timers
When it comes to controlling DC motors, there are times when you may need to make sudden changes in speed, such as going from 0% power to full power or changing direction. However, this type of operation requires very high currents, much more than simple movement. To address this issue, it's possible to implement a smooth start for the motor by utilizing both the standard delay function delay() and timers.
#3: Creating a class for working with DC motor
One controller can control multiple DC motors. Since the control code will be the same, that is, allocate a separate class for it. Then, when adding a new engine, it will be enough to add just a few lines, and not copy the same functions and variables for each.
#4: Creating your own DC motor control library
We have developed a class that can manage a DC motor, but if we intend to use it in multiple projects, we will have to duplicate the same code for each project. To avoid this, it would be wise to extract all the repetitive code and place it in a separate library. This library will then be connected to the project in the same way as the standard Arduino libraries.